
I knew that having a newborn would keep me very busy. I anticipated the long sleepless nights and the busy days between them. I was ready to busy myself with endless diaper changes, constant feeding sessions and all of the other bouncing, cooing, shushing, rocking and singing that I would be suddenly responsible for. What I hadn’t anticipated was the spare time.
Not just any spare time, but spare time spent with a steadily growing newborn balanced in my arms sound asleep from a milk coma. When my son first came home he made it immediately clear that he loved his mama more than anything else, which though absolutely amazing for me to feel, also meant that he loudly protested me putting him down for any reason – even if seconds prior he had been sound asleep.
And so, I found myself frequently at home with my sound asleep darling with nothing to do but await the opening of his oh-so-gorgeous eyes. If I moved, it would break the sleep, and if I made too much noise – say, by click-clacking on my keyboard to type – he would immediately wake up and we would start the whole routine of endless diaper changes, constant feeding sessions and all of the other bouncing, cooing, shushing, rocking and singing that I was suddenly responsible for.
It was through this first month that I began to craft small and simple toys for my son with whatever was within reach and with the quietest and easiest to put down tools. Last week I made that tried and true favourite, a sock monkey, and I’m happy to share the process with you here today!
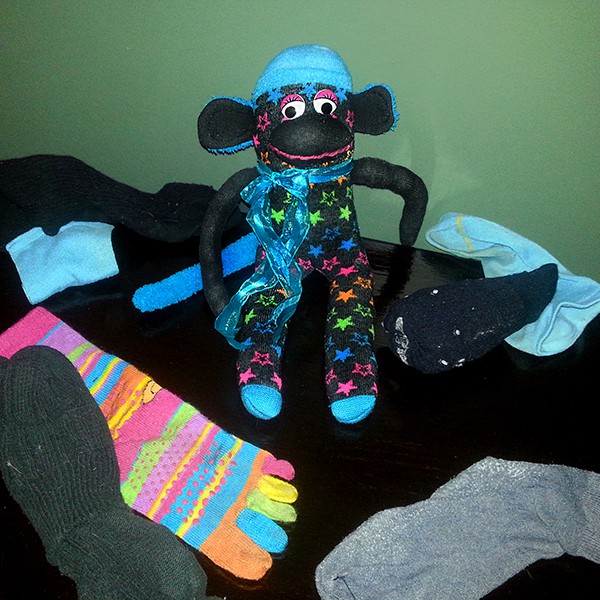
First, you must find two socks. Any two socks, really, they don’t have to be matching and they certainly don’t have to be new – my little monkey is made up of three old socks from my mismatched sock pile. I was inspired by the black sock with rainbow stars I found inexplicably in last week’s laundry load – it was all alone and way too tiny to fit me, but it matched my son’s nursery perfectly!
I then selected two other socks to coordinate with it (though you only need one more). Of course, you CAN use two matching socks, but that’s all up to your creative impulse.
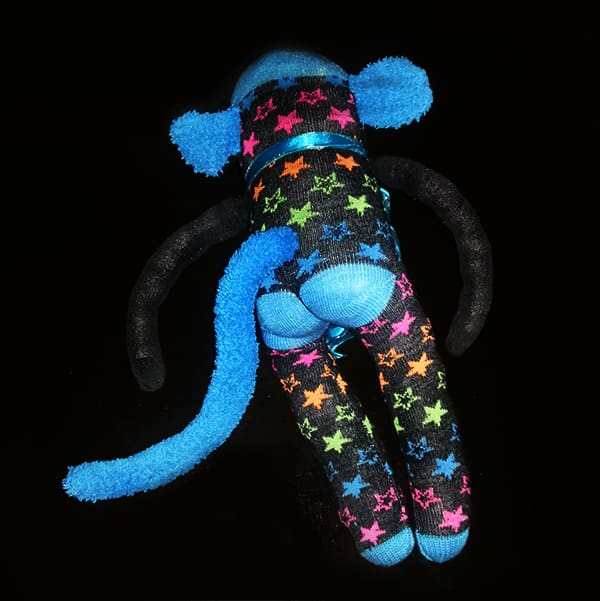
With your first sock you will be constructing your creature’s body. Flatten the sock so that the heel is spread flat on the bottom side and the toe is flattened at the top as it would be worn. The toe will eventually become your creature’s head and the heel will become the bum. Cut the flattened sock up the middle from the ankle to just before the heel. Invert the sock and sew up each side of this cut and across the bottom opening of the ankle – it is best to sew this last part on a curve to create rounded feet. Leave a small opening between these two legs that you have just created, then pull the sock back through it and stuff. You may need to use a tool such as a crochet hook or a pen – whatever is within reach! – to stuff the long legs properly. Complete the body by sewing up the gap securely.
With your second sock, cut the toe out completely. Sew this piece onto the front of your creature to create its mouth face shape, stuffing it as you sew. If your sock already has a line across the toe seam, it will become your creature’s mouth; if it does not have a clear line, use some yarn or coloured thread to sew a line across. You could also use puffy paint or glue on trim to create this part!
Using the bottom half of the second sock, cut into two identical strips from the ankle to the heel – just as you did for the legs. These will become the arms. Sew them up too and stuff before sewing them onto the sides of your body sock.
Next, decide what kind of creature you are making. I opted for the traditional monkey, but you can certainly get creative and make a kitty, a rabbit, a frog, or any other four-legged creature you can imagine! With more socks, you can get even crazier and make any kind of creature you’d like! Using the remaining piece of sock, cut out your creature’s tail and ears. Sew and stuff them and attach to your body in the appropriate places.
You may also add some shape to your sock creature by sewing into it using a matching thread in places such as the toes, fingers, bum or ears. Finally, add some eyes by sewing on buttons or googley eyes –but be sure to attach these VERY securely if you intend to give this toy to a young child or infant so there is no risk of them falling off and the child accidentally choking on them or swallowing them.
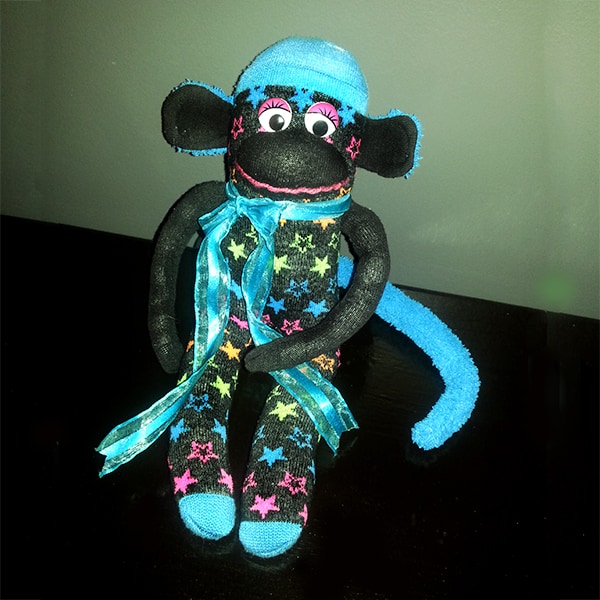
Your creature is now ready for play! Have fun personalising the details to suit your child’s favourite colours, creatures or nursery décor! This is also a really wonderful memento to make using some of your child’s socks when they outgrow them – I’m planning to make one each year to mark the growth of my son’s tiny feet!
By Aleisha