
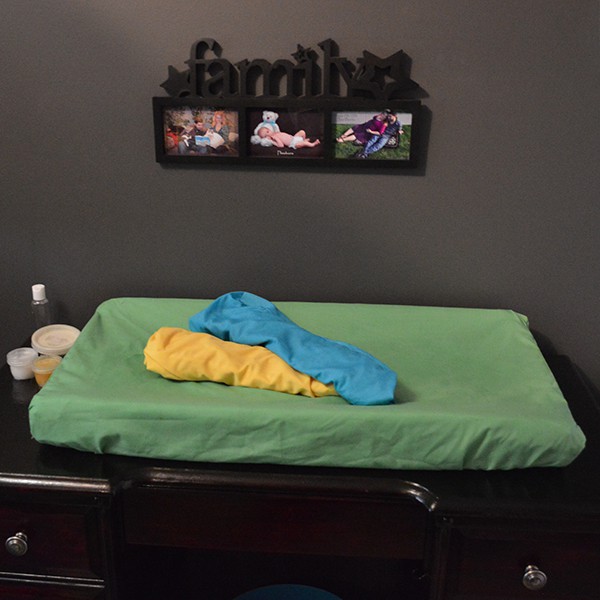
As I was putting the finishing touches on my newborn son’s Rainbow and Stars themed nursery, I began to seek out a simple bedding set for his crib mattress and change pad. Two things surprised me in this search: One, that every crib bedding set sold on the market came complete with bumper pads, which have long been advised against for the suffocation risk they pose; and two, that none of them included a matching change pad cover. Furthermore, most of the sets were designed in very specific themes or patterns and featured rather neutral or pastel colours. Nothing I saw would match my very simple theme, so I decided at once that I would make my own linens.
I am so glad that I did! I saved a bundle on them: rather than spending upwards of fifty or a hundred dollars for each, I paid just twelve dollars for each crib sheet and matching change pad cover! This of course meant that I could make a set in every shade of the rainbow to switch out as often as I wanted – or needed – to!
They were also incredibly easy to make; with or without any sewing experience anyone could easily tackle this project!
In fact, though I had every great intention of having everything finished before we brought home baby, the last few weeks were a rush and I couldn’t find fabric I liked until the day I went into labour. Yes, that’s what I was doing when I went into labour – fabric shopping in the fashion district!
And so, I completed my sewing during the first week home from the hospital – while healing from an emergency c-section and with a very high-needs newborn who didn’t want to leave my arms! If I could do it you can too!
You will need three yards of fabric to make a sheet and a matching change pad cover, assuming that you’re using a standard sized crib mattress and change pad (two yards for the mattress and one for the change pad cover). Be sure to pre-wash your fabric before you begin as many fabrics will shrink in the wash. You will also need two yards of elastic for the mattress and about half a yard for the change pad, depending on what style you have. To make things even easier, you can complete this project without any further measuring or math!
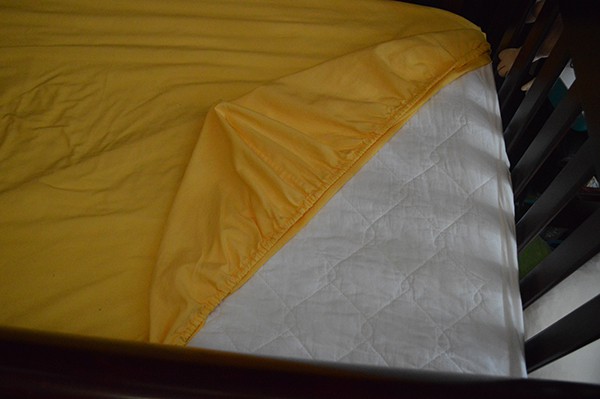
To begin, simply lay out your crib mattress in the centre of your fabric, right side up. Pull the fabric up over the sides of your mattress and pin onto the mattress, making sure to keep the fabric taught and straight. Pin the corners out together to a flat point ; trim fabric to about half an inch. Allow about two inches of fabric over the underside of your mattress and trim any extra fabric away.
Remove the fabric from your mattress and sew straight up each pinned corner, creating your basic mattress shape. A nice French Hem works well here if you don’t have access to a Serger, or, if you are a complete novice (or are trying to sew VERY quickly while baby sleeps in the swing beside you, as I had to for my last set of covers!) simply cut the edges with pinking shears to ensure there is no fraying which leads to weakened seams and tears then finish with either a double straight stitch seam or or single seam and a zigzag seam beside it for durability.
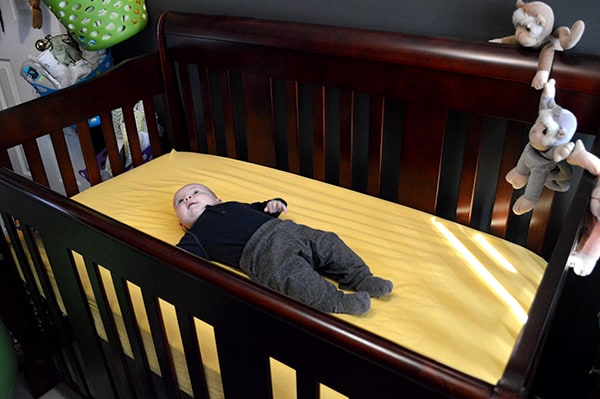
Fold over the hem to create a pocket the width of your elastic and sew all the way around, leaving a small opening through which you will then pass your elastic. An easy way to push elastic into your hem is to attach the end of the elastic onto a long skinny knitting needle using strong tape and then guide the knitting needle easily through the fabric pocket and out the other end. Once you have looped your elastic through the pocket, sew the two ends together well and tuck back into the pocket. Sew the pocket seam closed and Voila! You have just created your very own crib sheet!!
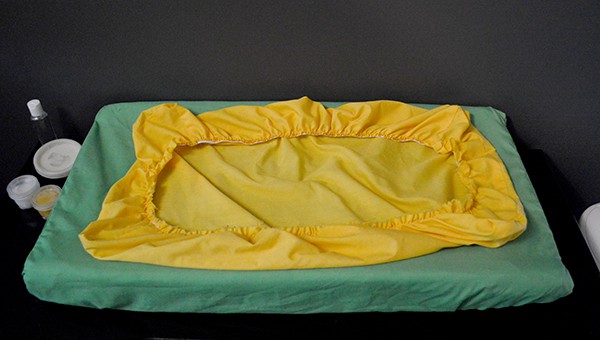
If you have a flat change pad you can do the same for your change pad cover, or if you have a curved change pad as I have, simply trace out the end shape onto some tracing paper and cut two pieces from your fabric, then one large rectangle the size of the main portion of your change pad. Again, add approximately two inches across the bottom edges and a half an inch along the seams.
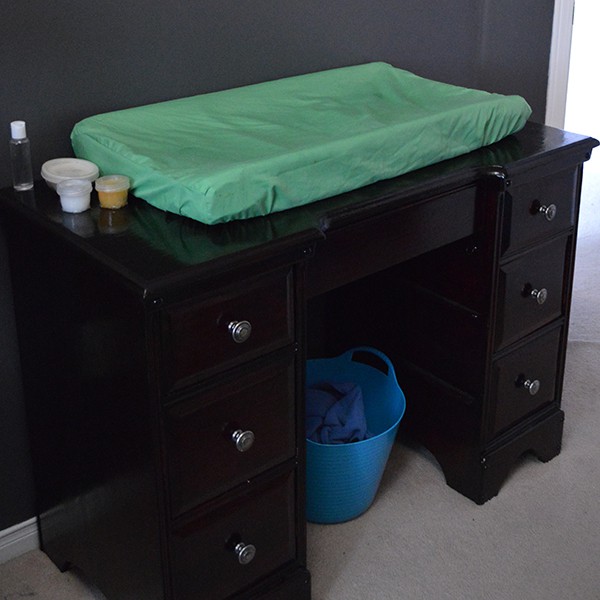
Sew each end piece onto your main rectangle and then complete the pocket hem as with a standard flat cover and you now have a perfectly fitting, matching change pad cover!
It really is that easy! Now that you have mastered this basic set, have fun shopping for all sorts of fun fabrics to personalise your nursery linens. I started out with just three shades of soft cotton sheet sets for summer, but I’m picking out warmer flannel fabrics now and I’m even eyeing some of that super soft Minky fabric for a luxurious winter set or two! With all of the drool and spit-up my little one is creating now, we’re changing out the sheets pretty often so it’s great to have a lot of extras always on hand – especially without breaking the bank!
I just sewed some nice crib sheets in organic flannel, so practical to Diy.