
Sensory bags are a great way to teach children to start using their senses to learn. It teaches them to use their touch and sight to learn, create ideas and thoughts about the world around them.
Sensory bags are great they allow for sensory play activities, inviting your child to explore the feel of the gel bag, and to look for all the extra “ingredients” inside. Children who don’t like to get their hands dirty, are able to enjoy the sensory experience without getting any of the materials on their hands. Parents and teachers who don’t like mess, have all the ingredients held within the plastic bag.
While all the ingredients are contained inside the sensory bag, make sure all fastenings are secure so nothing can escape and end up in your baby’s or toddler’s reach, and always supervise all the time they are playing as I am sure you always do.
How to make a sensory bag? You need just two basic ingredients for your sensory bags: a strong, clear, plastic food bag, and some hair gel.Your bag need to be strong enough to last through the handling and playing by your child, so make sure you use something substantial. You can double up, with one bag inside another, and you can add extra tape around all four sides to secure it.
Fill the bag with some of the hair gel. You don’t need very much gel, just enough so it can spread it out in a thin layer and fill the bag.
The gel-filled bag on its own is great for sensory play, because it has an interesting texture for your child to explore, but there are many other ingredients you can include to offer different sensory experiences.
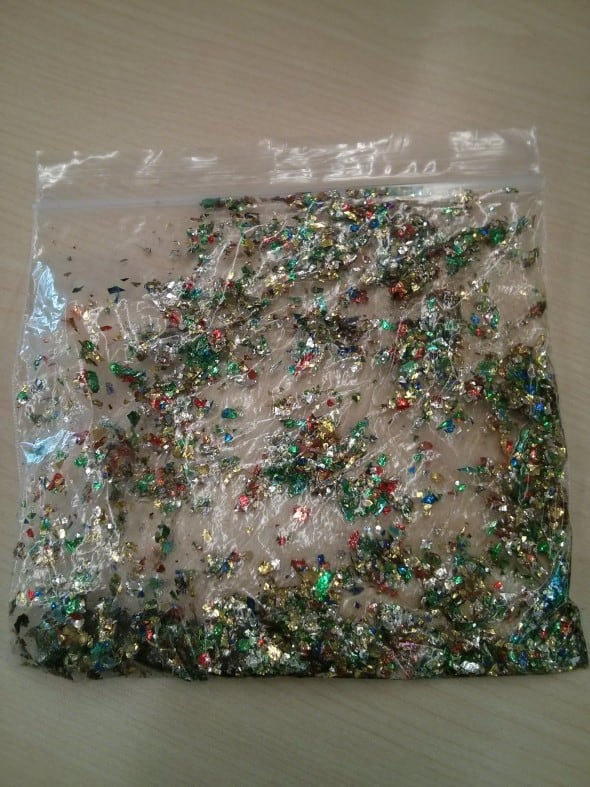
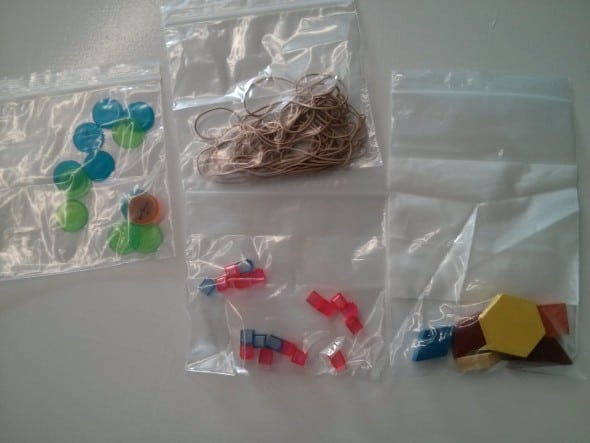
You could add in some glitter, foil shapes such, as hearts or stars, small toys, pasta shapes, rice, drinking straws cut into small pieces, googly eyes, foam sheets cut into shapes, letters or numbers, pom poms, lentils etc. I find that anything you would not normally give them, if you put it in a bag for safety they love it.
How to play with a sensory bag?
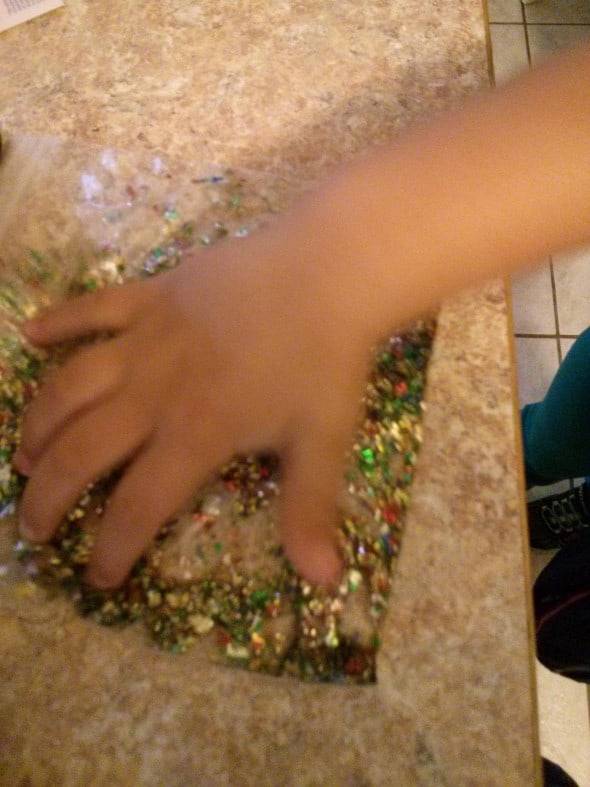
You can tape the bags down onto a table, or the tray of a highchair, and invite your baby or toddler to explore. If you have a walker or cruiser you could make a whole row of bags along a shelf or table, with different items inside each one – a sensory treasure hunt!
If you are willing, you can tape the bags to a window and watch how the sun shines through, especially with tissue paper or tin foil.
You can also use them to play hide-and-seek, to build language skills. Place a selection of items inside and see if your child can name them all. Sensory bags are a great way to practise hand-eye co-ordination. Draw a maze on a piece of paper and place it under the sensory bag. Then see if you can use your finger to move one of the items inside the gel around the bag and through the maze.
The great thing about these is that the children can make their own fun and explore with you.
Please check my previous post about kid friendly DIY fun recipes.
By Melissa
Never thought of this,but it would makes things much easier